When it comes to whiskey packaging, the bottle…
750mlのオーダーメイドウイスキーボトルにエンボス加工のロゴを入れる方法
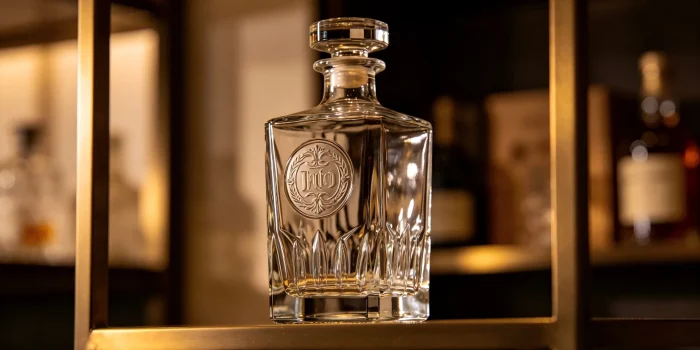
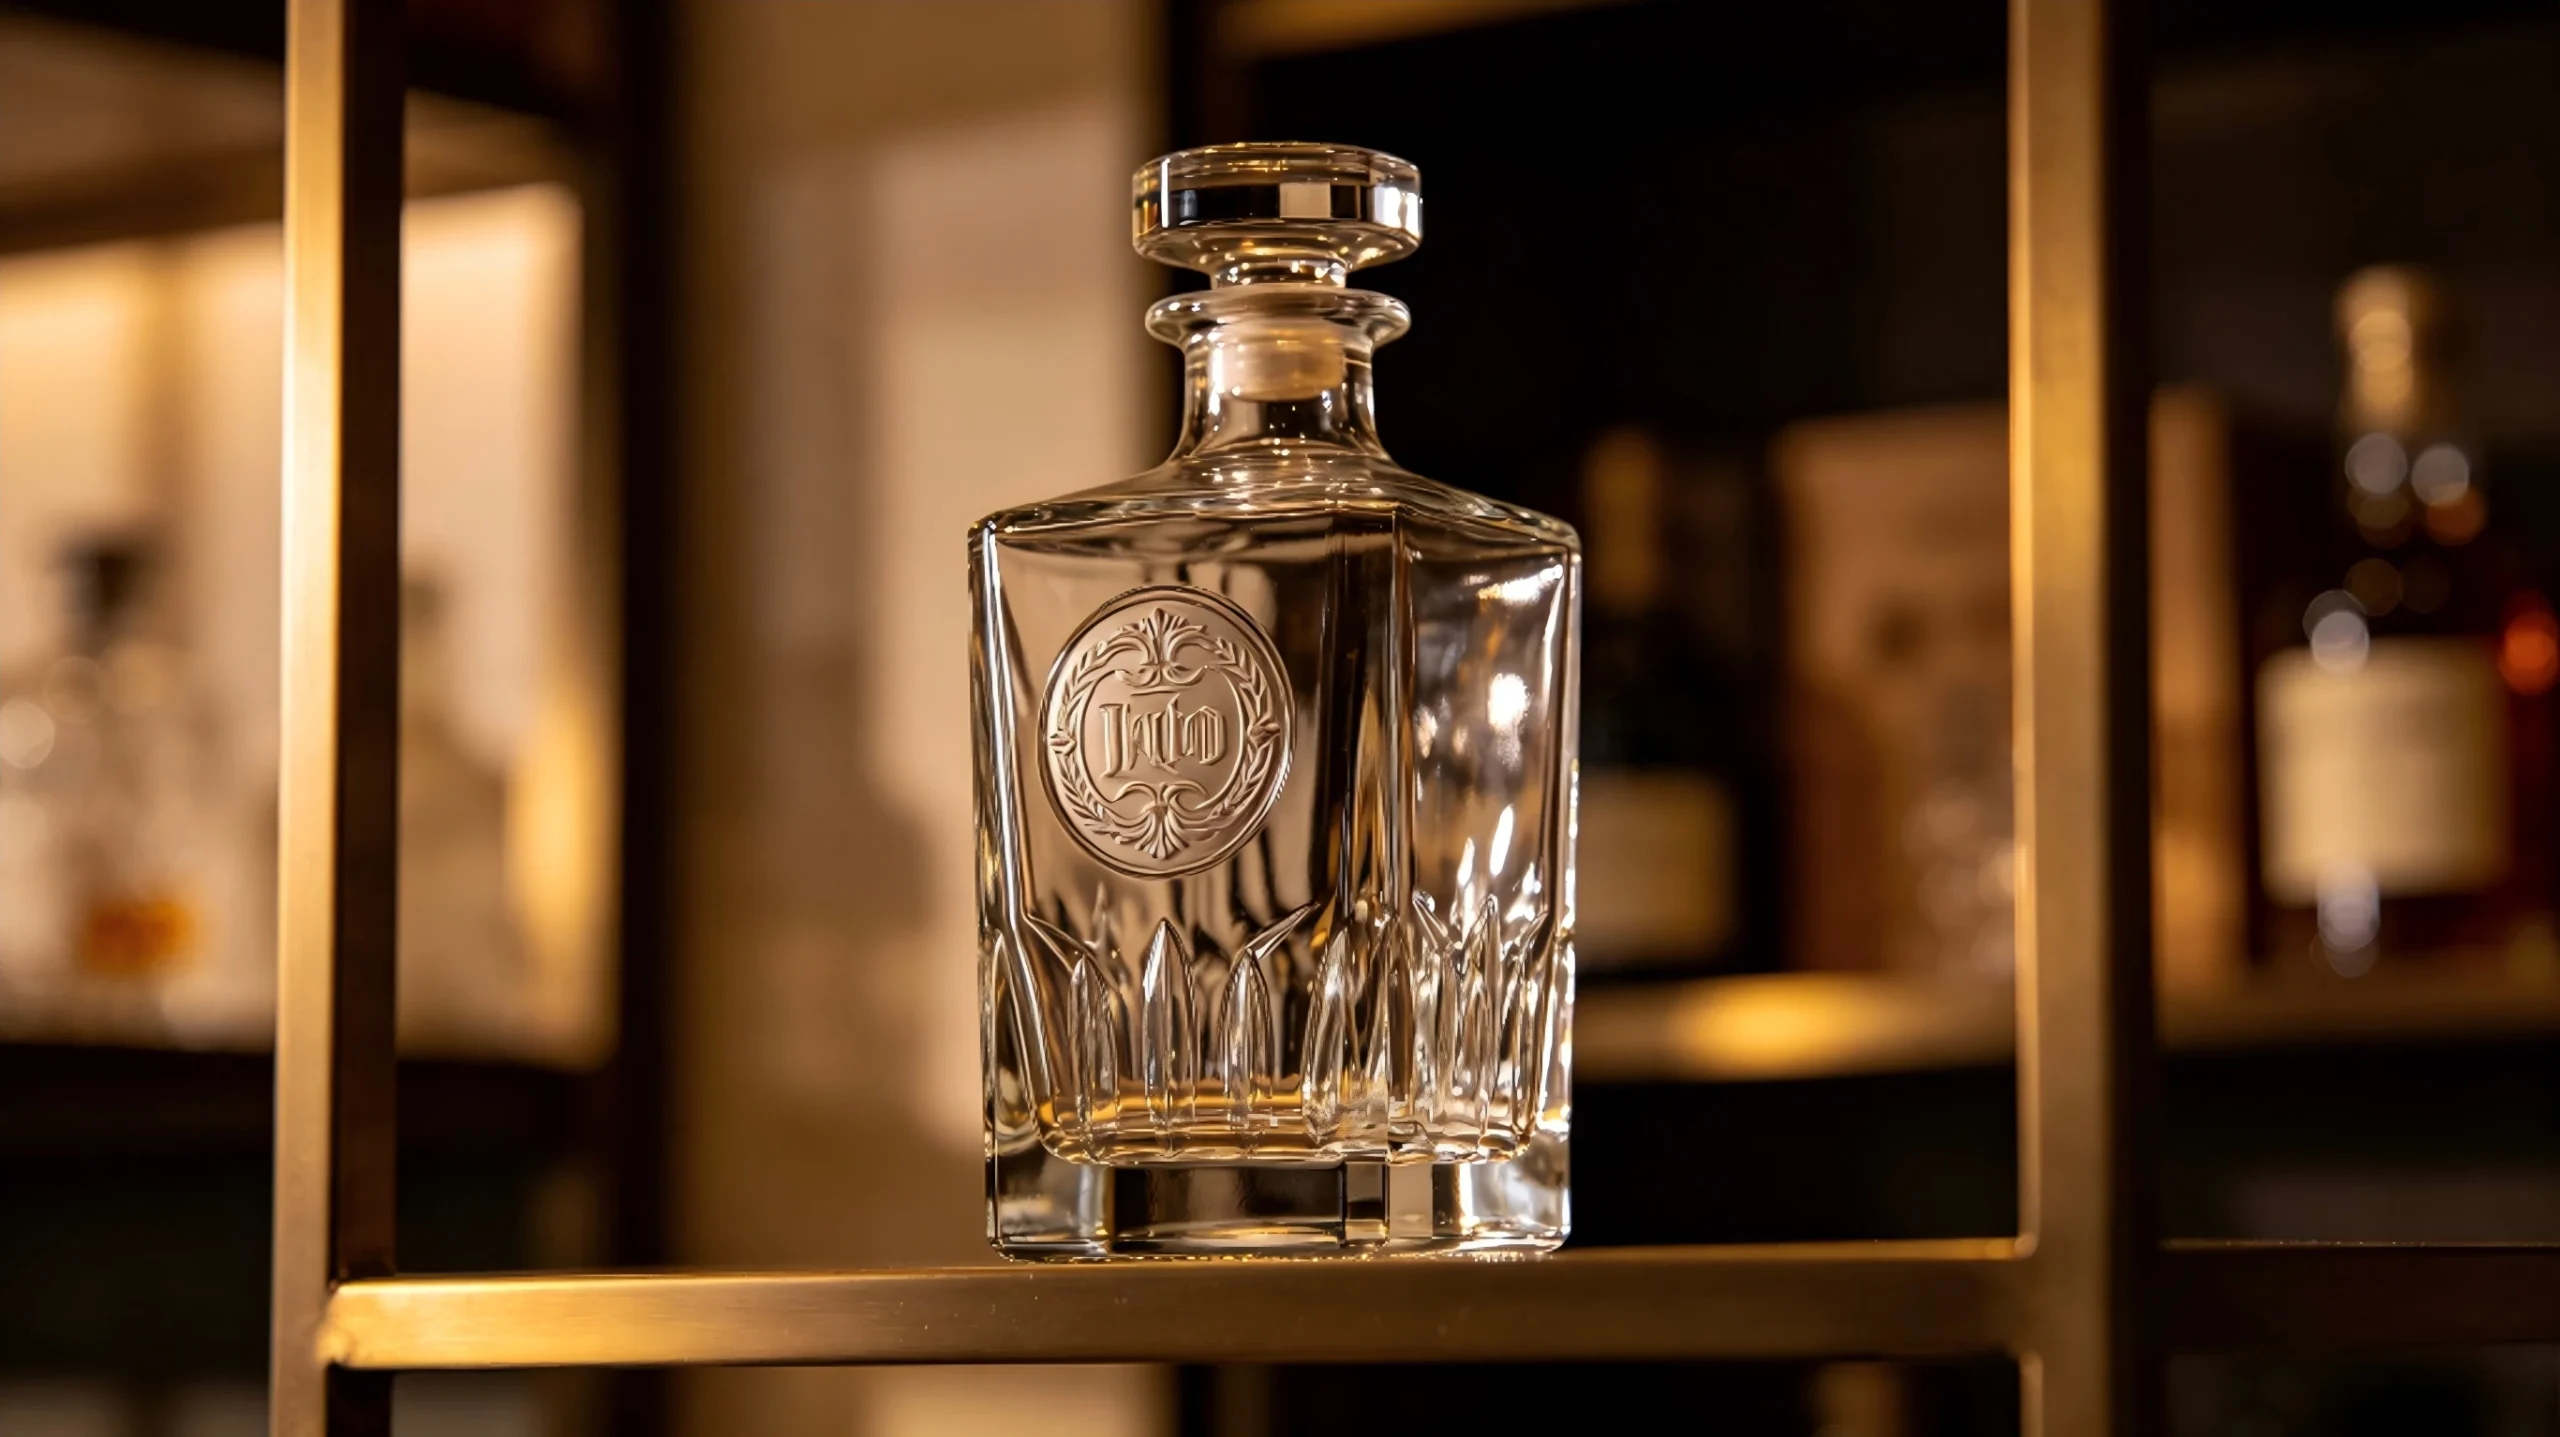
If you want your brand to stand out on a shelf, choosing 750ml オーダーメイドのウイスキーボトル is a great first step. Whiskey is a luxury drink. People don’t just buy it for the taste; they buy it for the experience. The bottle is the first thing a customer sees and touches. One of the best ways to make that bottle feel premium is by adding an embossed logo.
Embossing is a technique where your logo is raised from the glass surface. When a customer picks up your bottle, they can feel the design with their fingers. It creates a high-end feel that printed labels simply cannot match. In this guide, we will show you exactly how to add this feature to your packaging.
Why Choose 750ml Customized Whiskey Bottles with Embossing?
There are many reasons to use embossing on your 750ml オーダーメイドのウイスキーボトル. First, it builds trust. A bottle with a custom glass logo looks more expensive and professional. It shows that you care about every detail of your product.
Second, it helps with brand recognition. Even if the paper label gets wet or torn, your logo stays on the glass forever. Third, it is a great way to prevent fake products. It is much harder for someone to copy a custom-molded bottle than it is to copy a simple sticker. This protects your business and your customers. Using Premium Glass Liquor Bottles with custom marks is a smart long-term investment.
Step 1: Create a Clear Logo Design
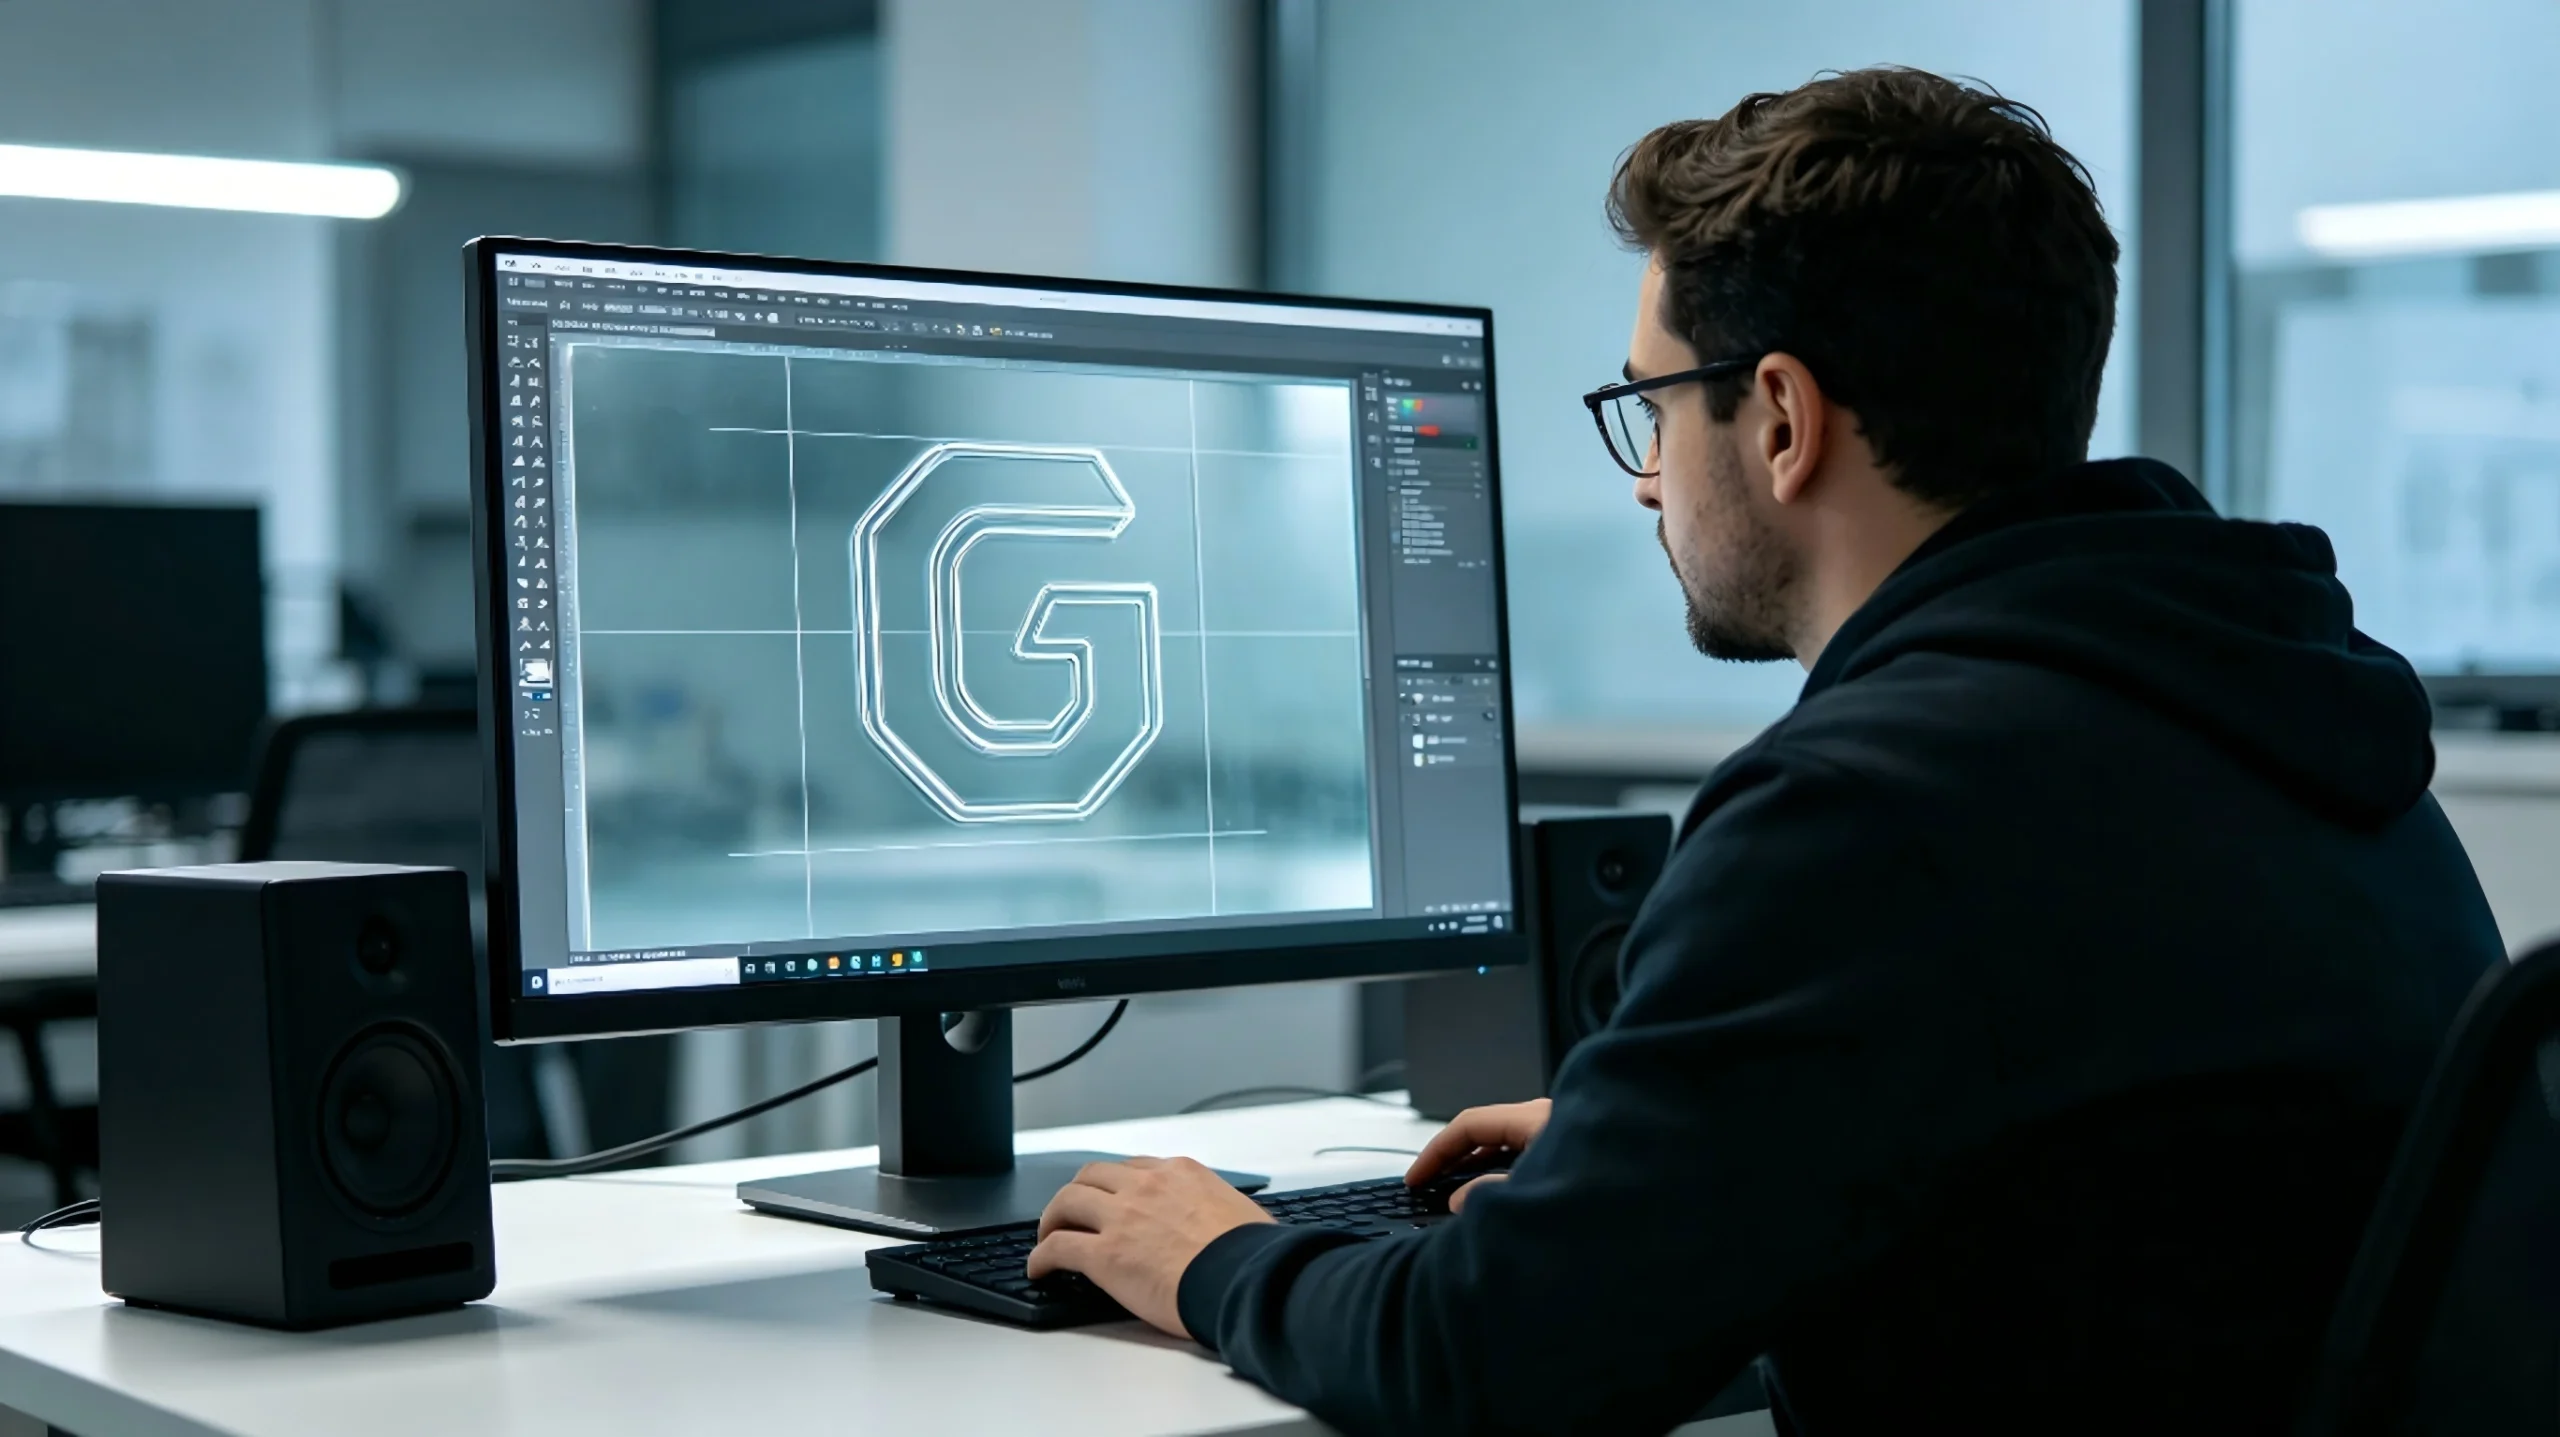
The process starts with your artwork. Not every logo works well for glass embossing. Because the logo is made of glass, very thin lines or tiny details might not show up clearly.
Keep your design simple. Bold lines and clear shapes work best. Think about the size of the logo compared to the bottle. You want it to be big enough to see from a distance, but not so big that it makes the bottle hard to hold. Talk to your designer about a “3D version” of your logo. This helps the factory understand how deep or high the glass should be.
Step 2: Choose the Right Position
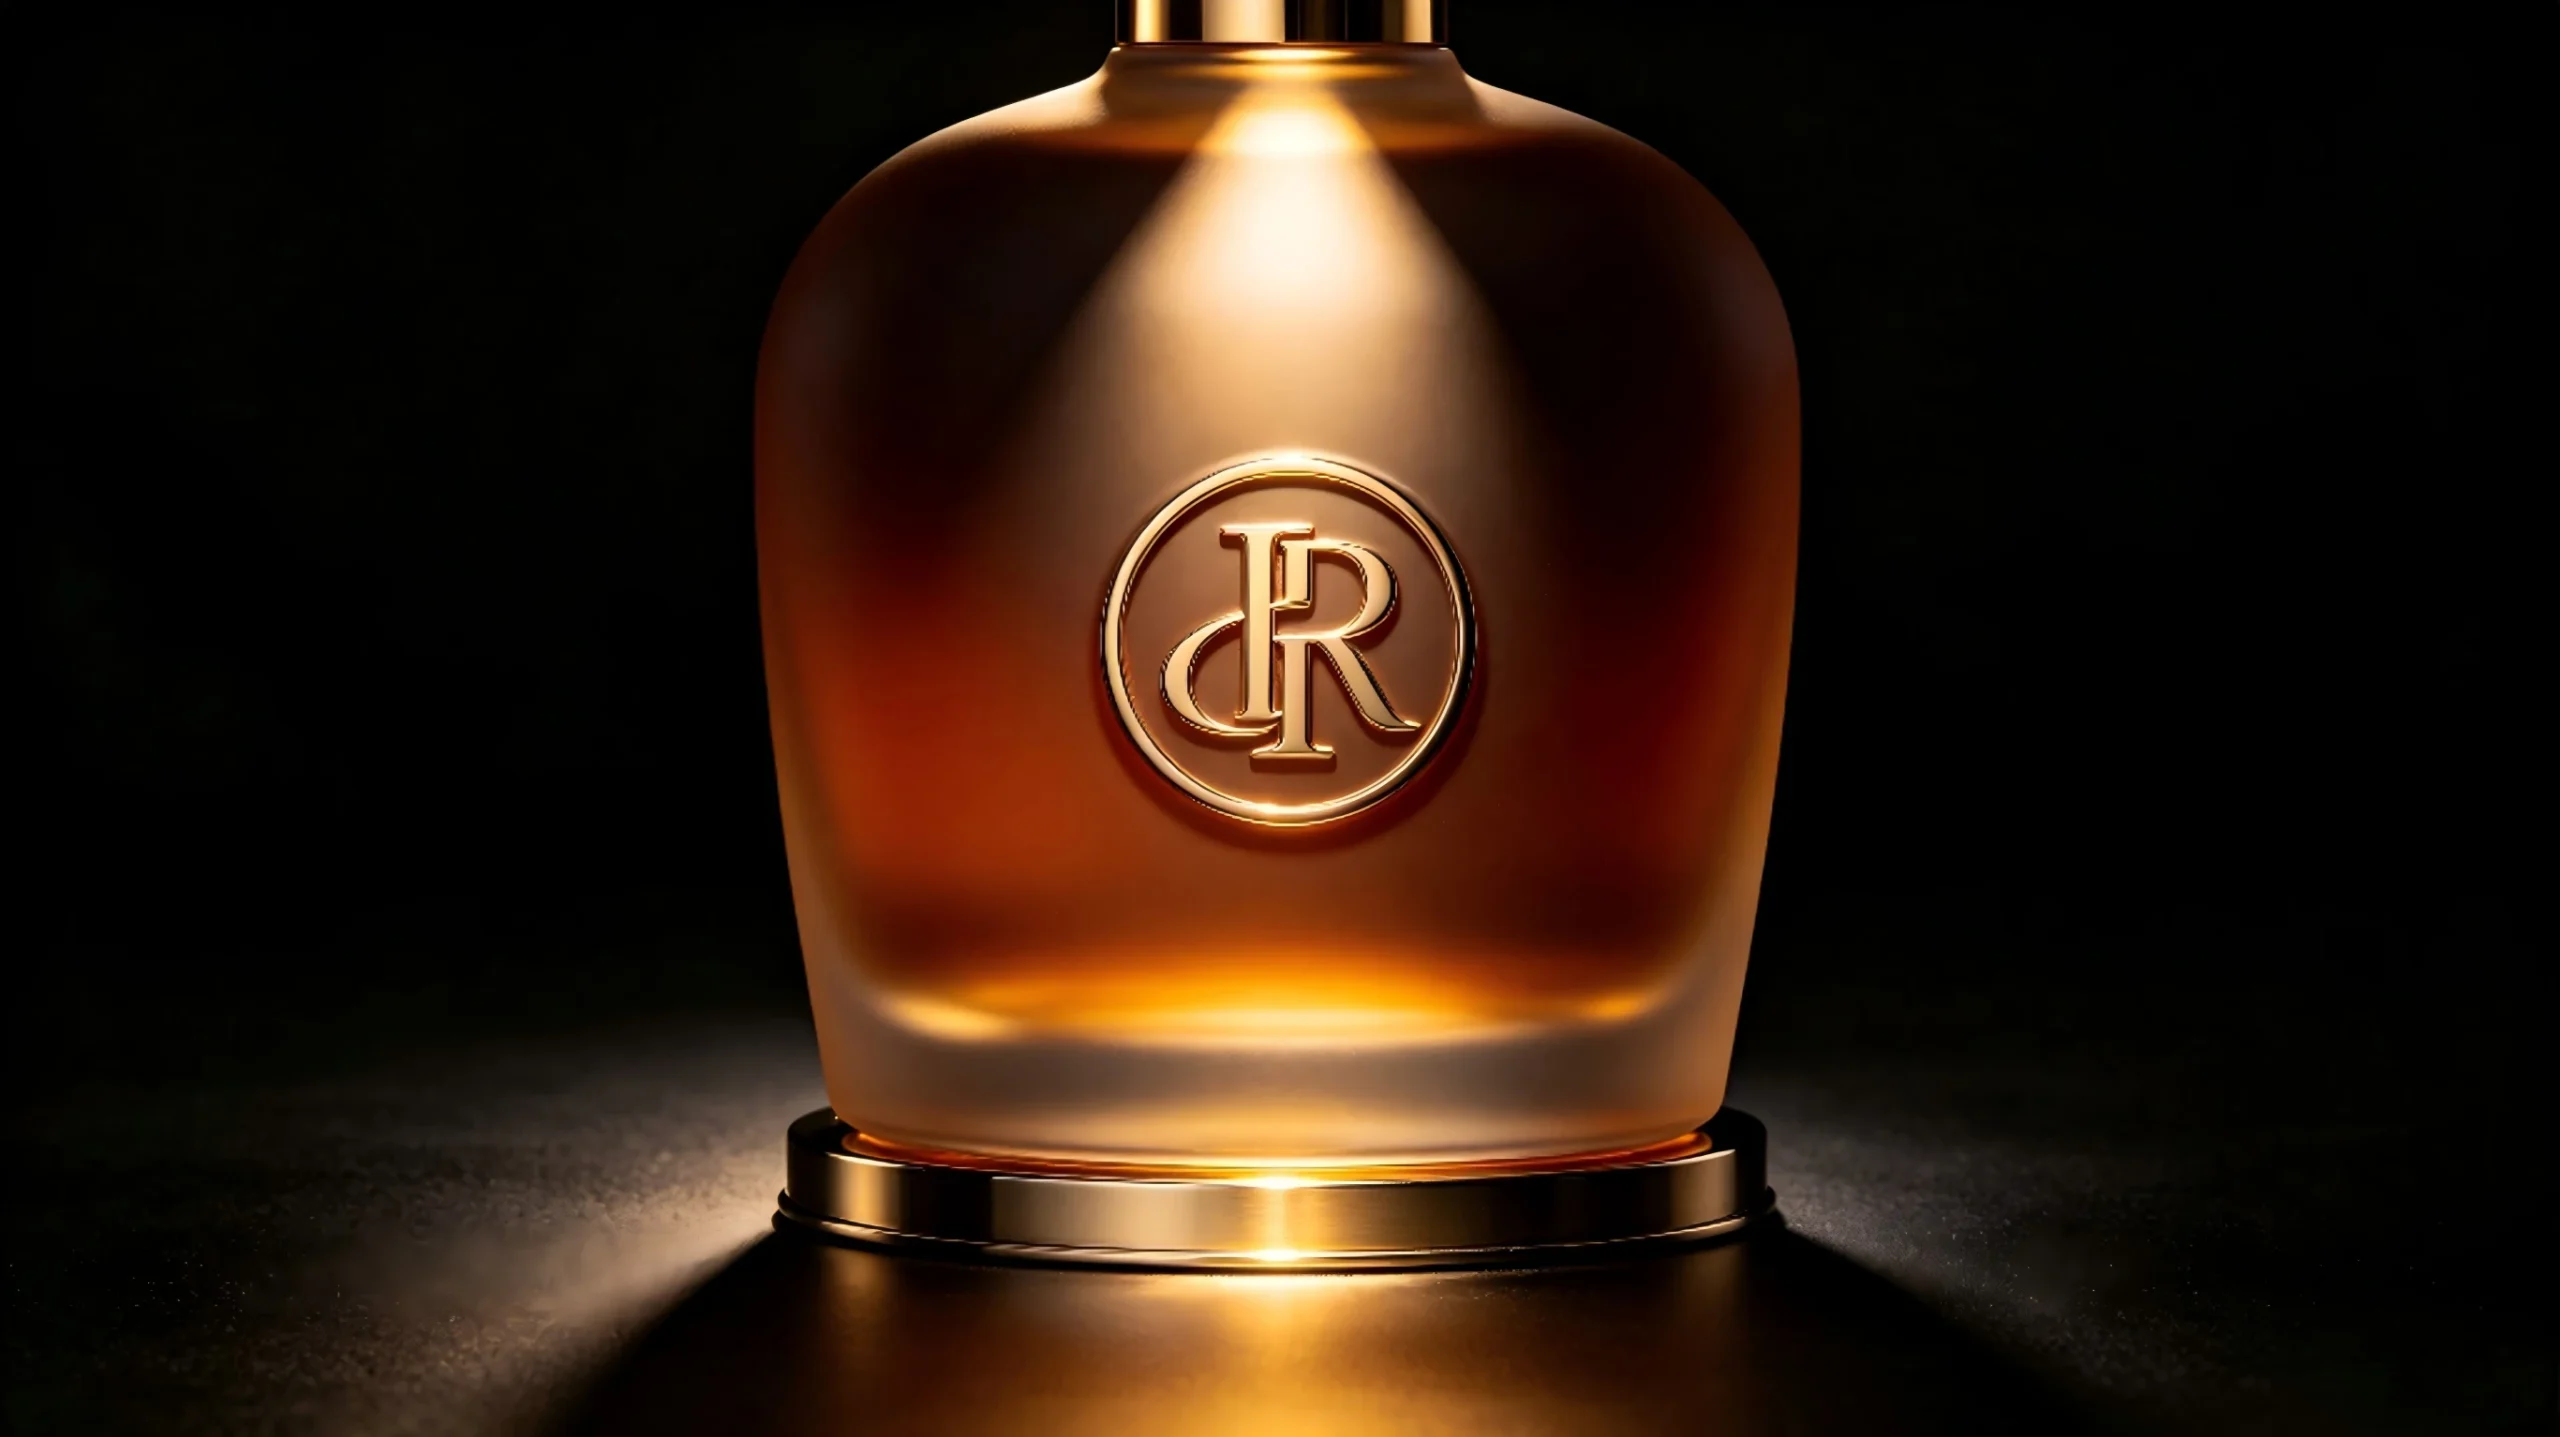
Where should the logo go? Most brands put the embossed logo in the center of the bottle, right above or below the main label. Others put it on the “shoulder” of the bottle (the curved part near the top) or even on the bottom.
If you put the logo where the customer’s thumb naturally rests, they will feel it every time they pour a drink. This “tactile” experience is very powerful. It creates a physical connection between the person and your brand.
Step 3: Making the Custom Mold
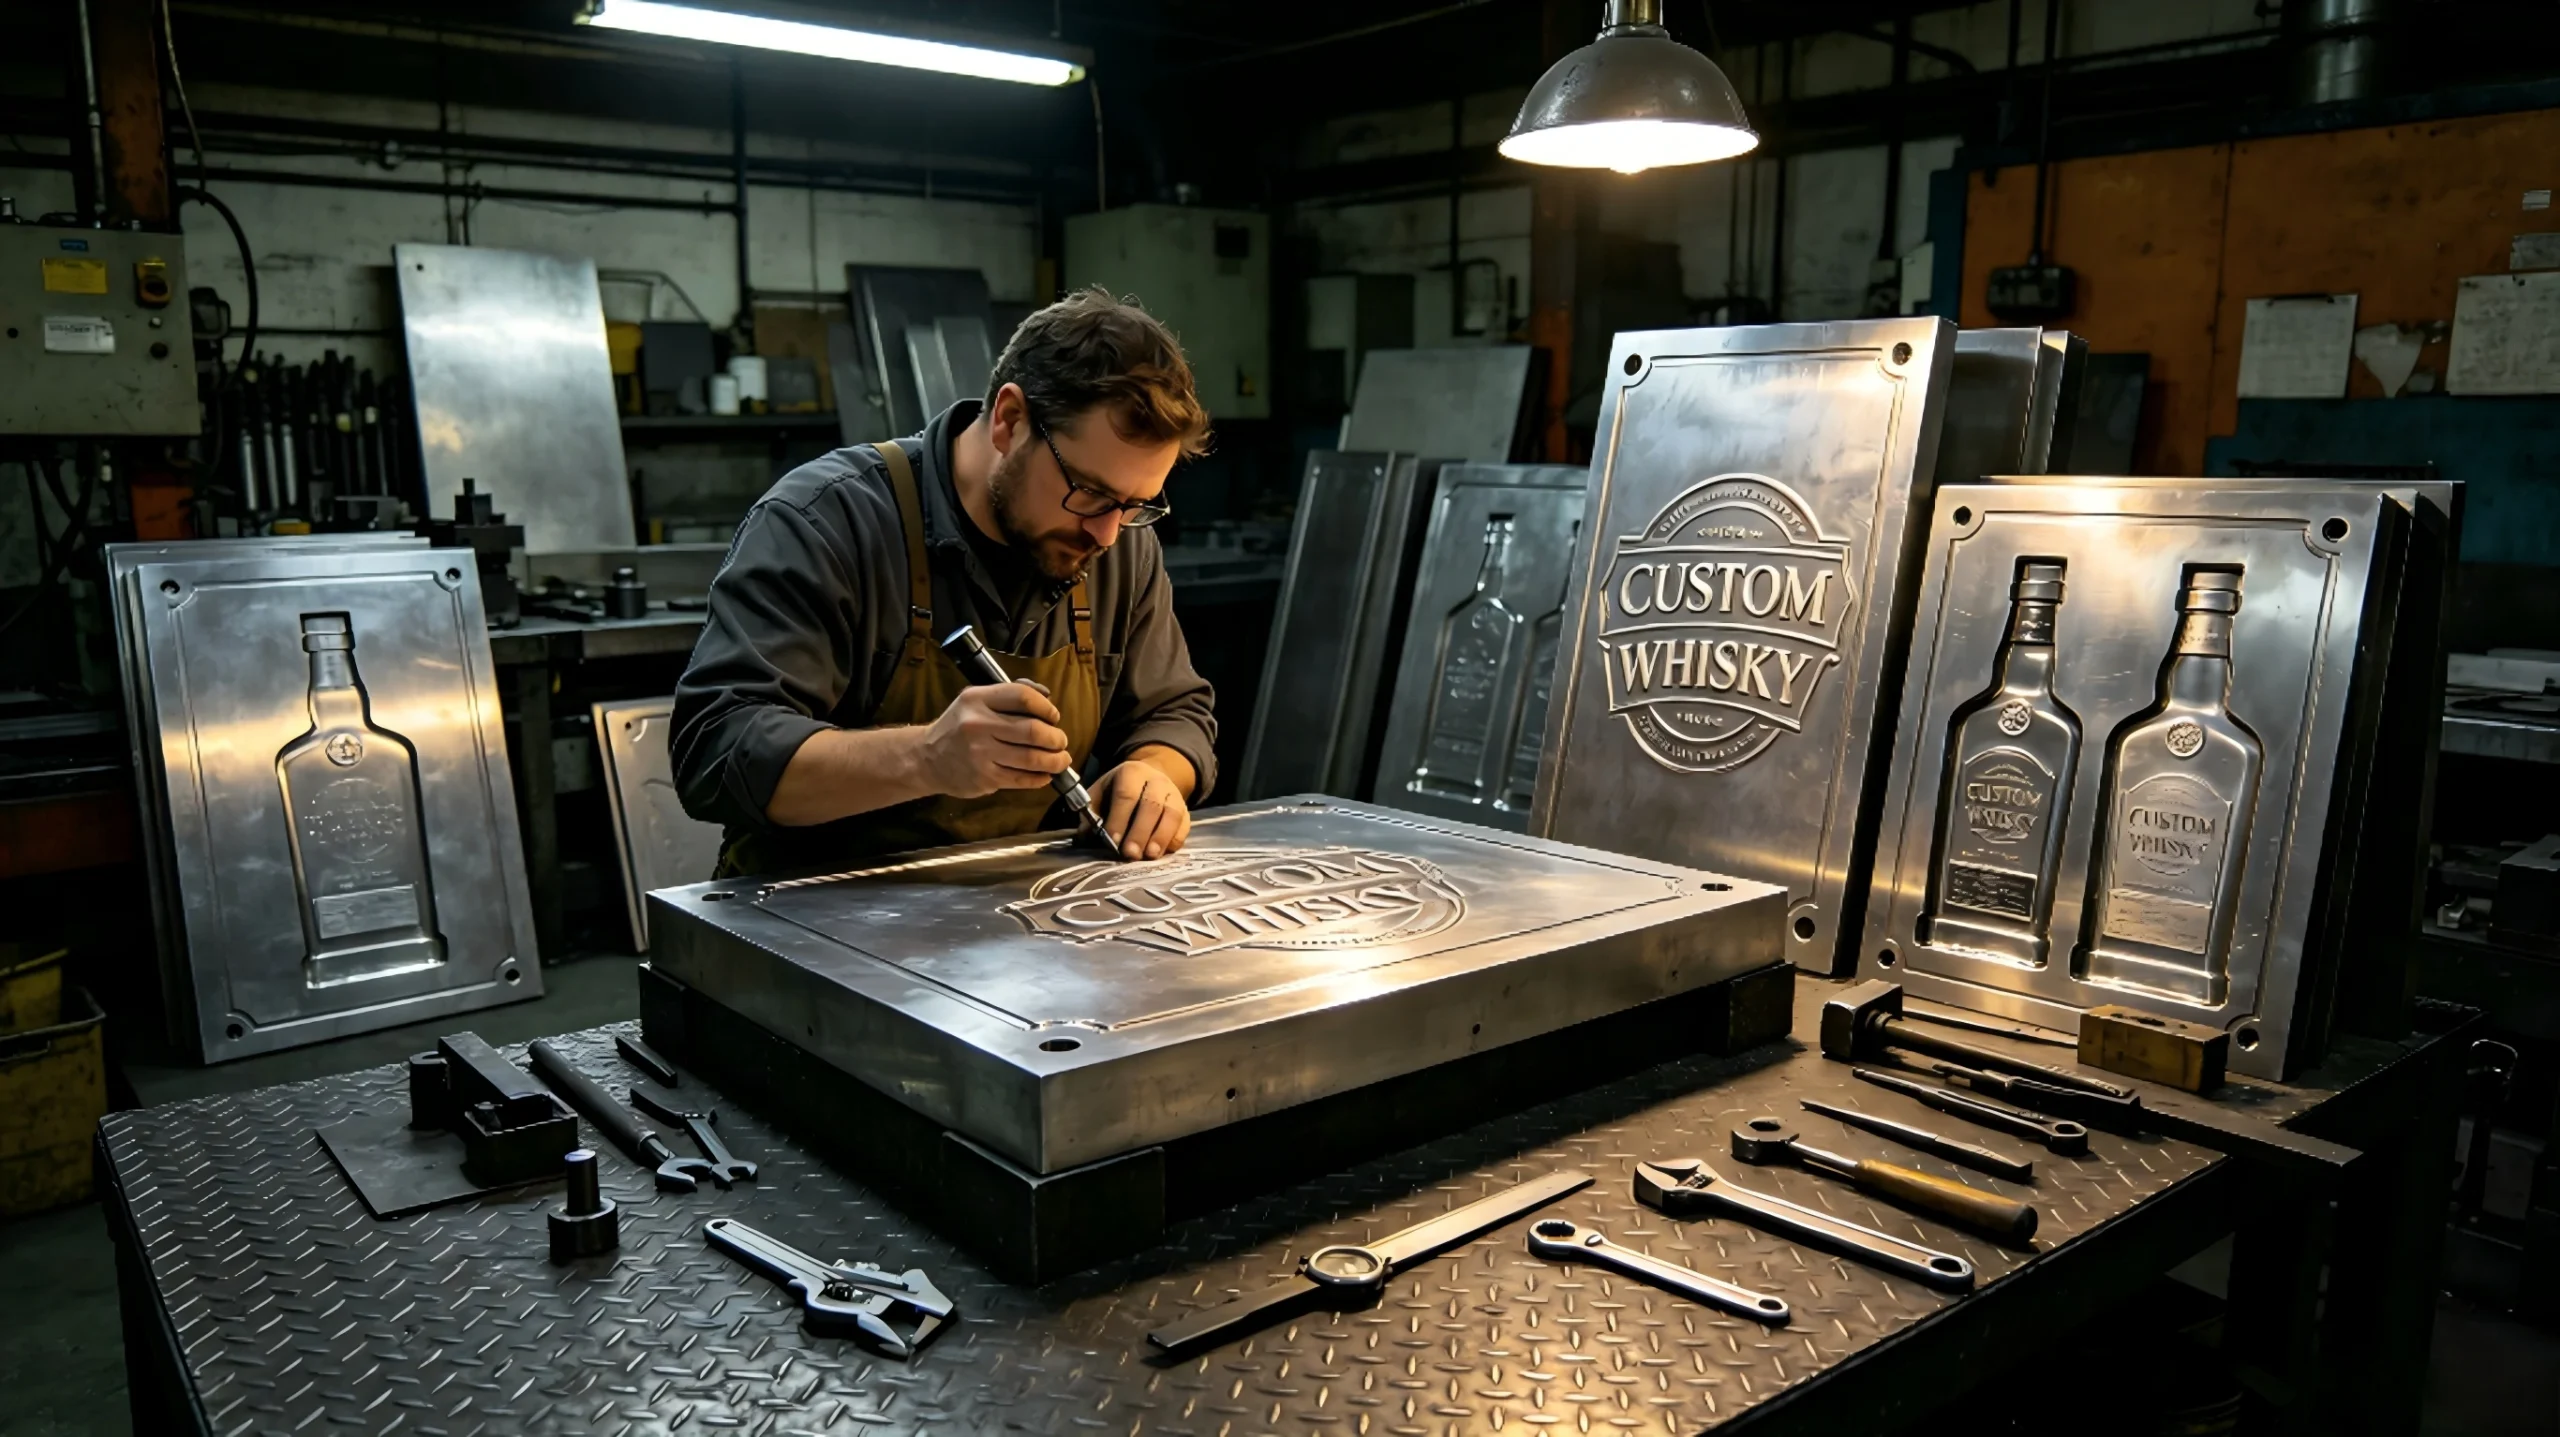
Once the design is ready, the factory needs to make a new mold. This is the most important part of creating 750ml オーダーメイドのウイスキーボトル. Unlike printing, which just goes on top of the glass, embossing is part of the glass-making process itself.
The factory carves your logo into a metal mold. When the molten glass is blown into this mold, it takes the shape of the carving. This requires a “mold fee,” which is an upfront cost. However, once the mold is made, you can use it to produce thousands of bottles. This ensures that every single bottle you sell looks exactly the same.
Step 4: Review the Physical Sample
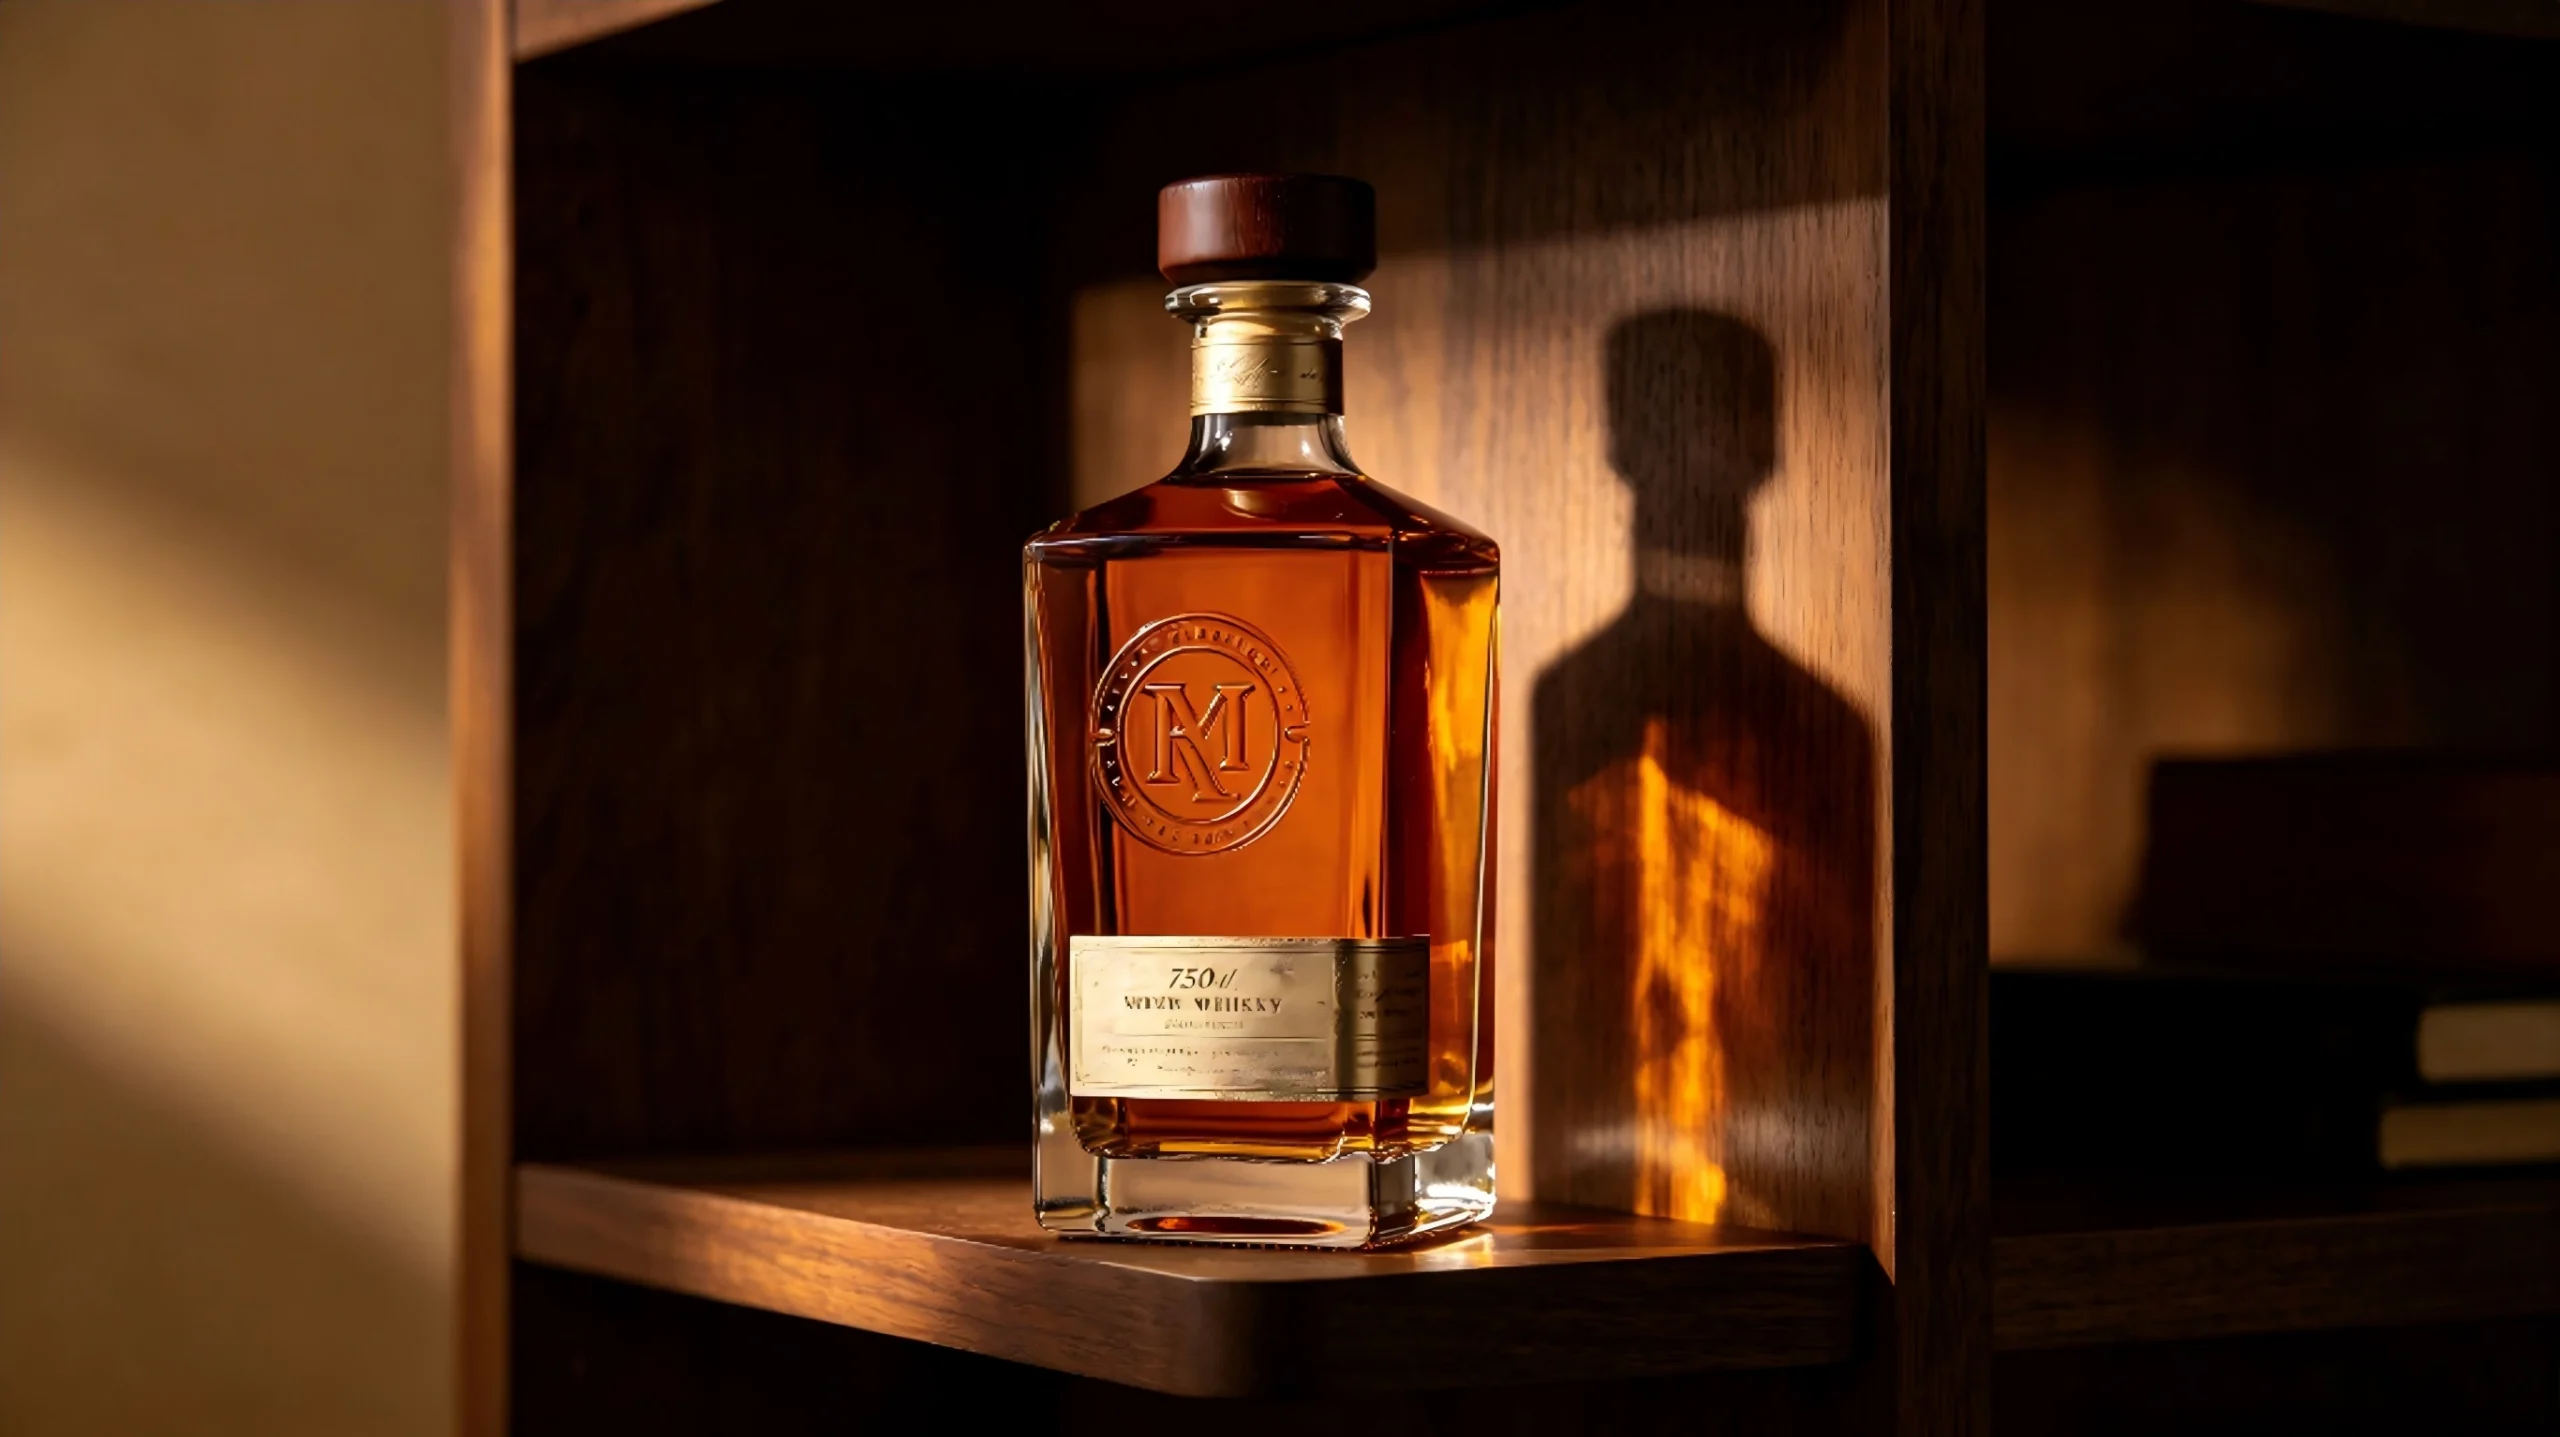
Before you order thousands of bottles, you must see a sample. A 3D drawing on a computer is helpful, but you need to hold the real glass in your hand.
When you get your sample, check a few things:
- Height: Is the logo raised enough to feel, but not so sharp that it feels uncomfortable?
- Clarity: Are the edges of the letters or shapes clean?
- Placement: Does it look centered?
- Compatibility: Does it work well with your paper labels and Custom Bottle?
If something is wrong, this is the time to fix the mold. It is better to spend a little more time now than to have a big mistake later.
Step 5: Mass Production and Quality Control
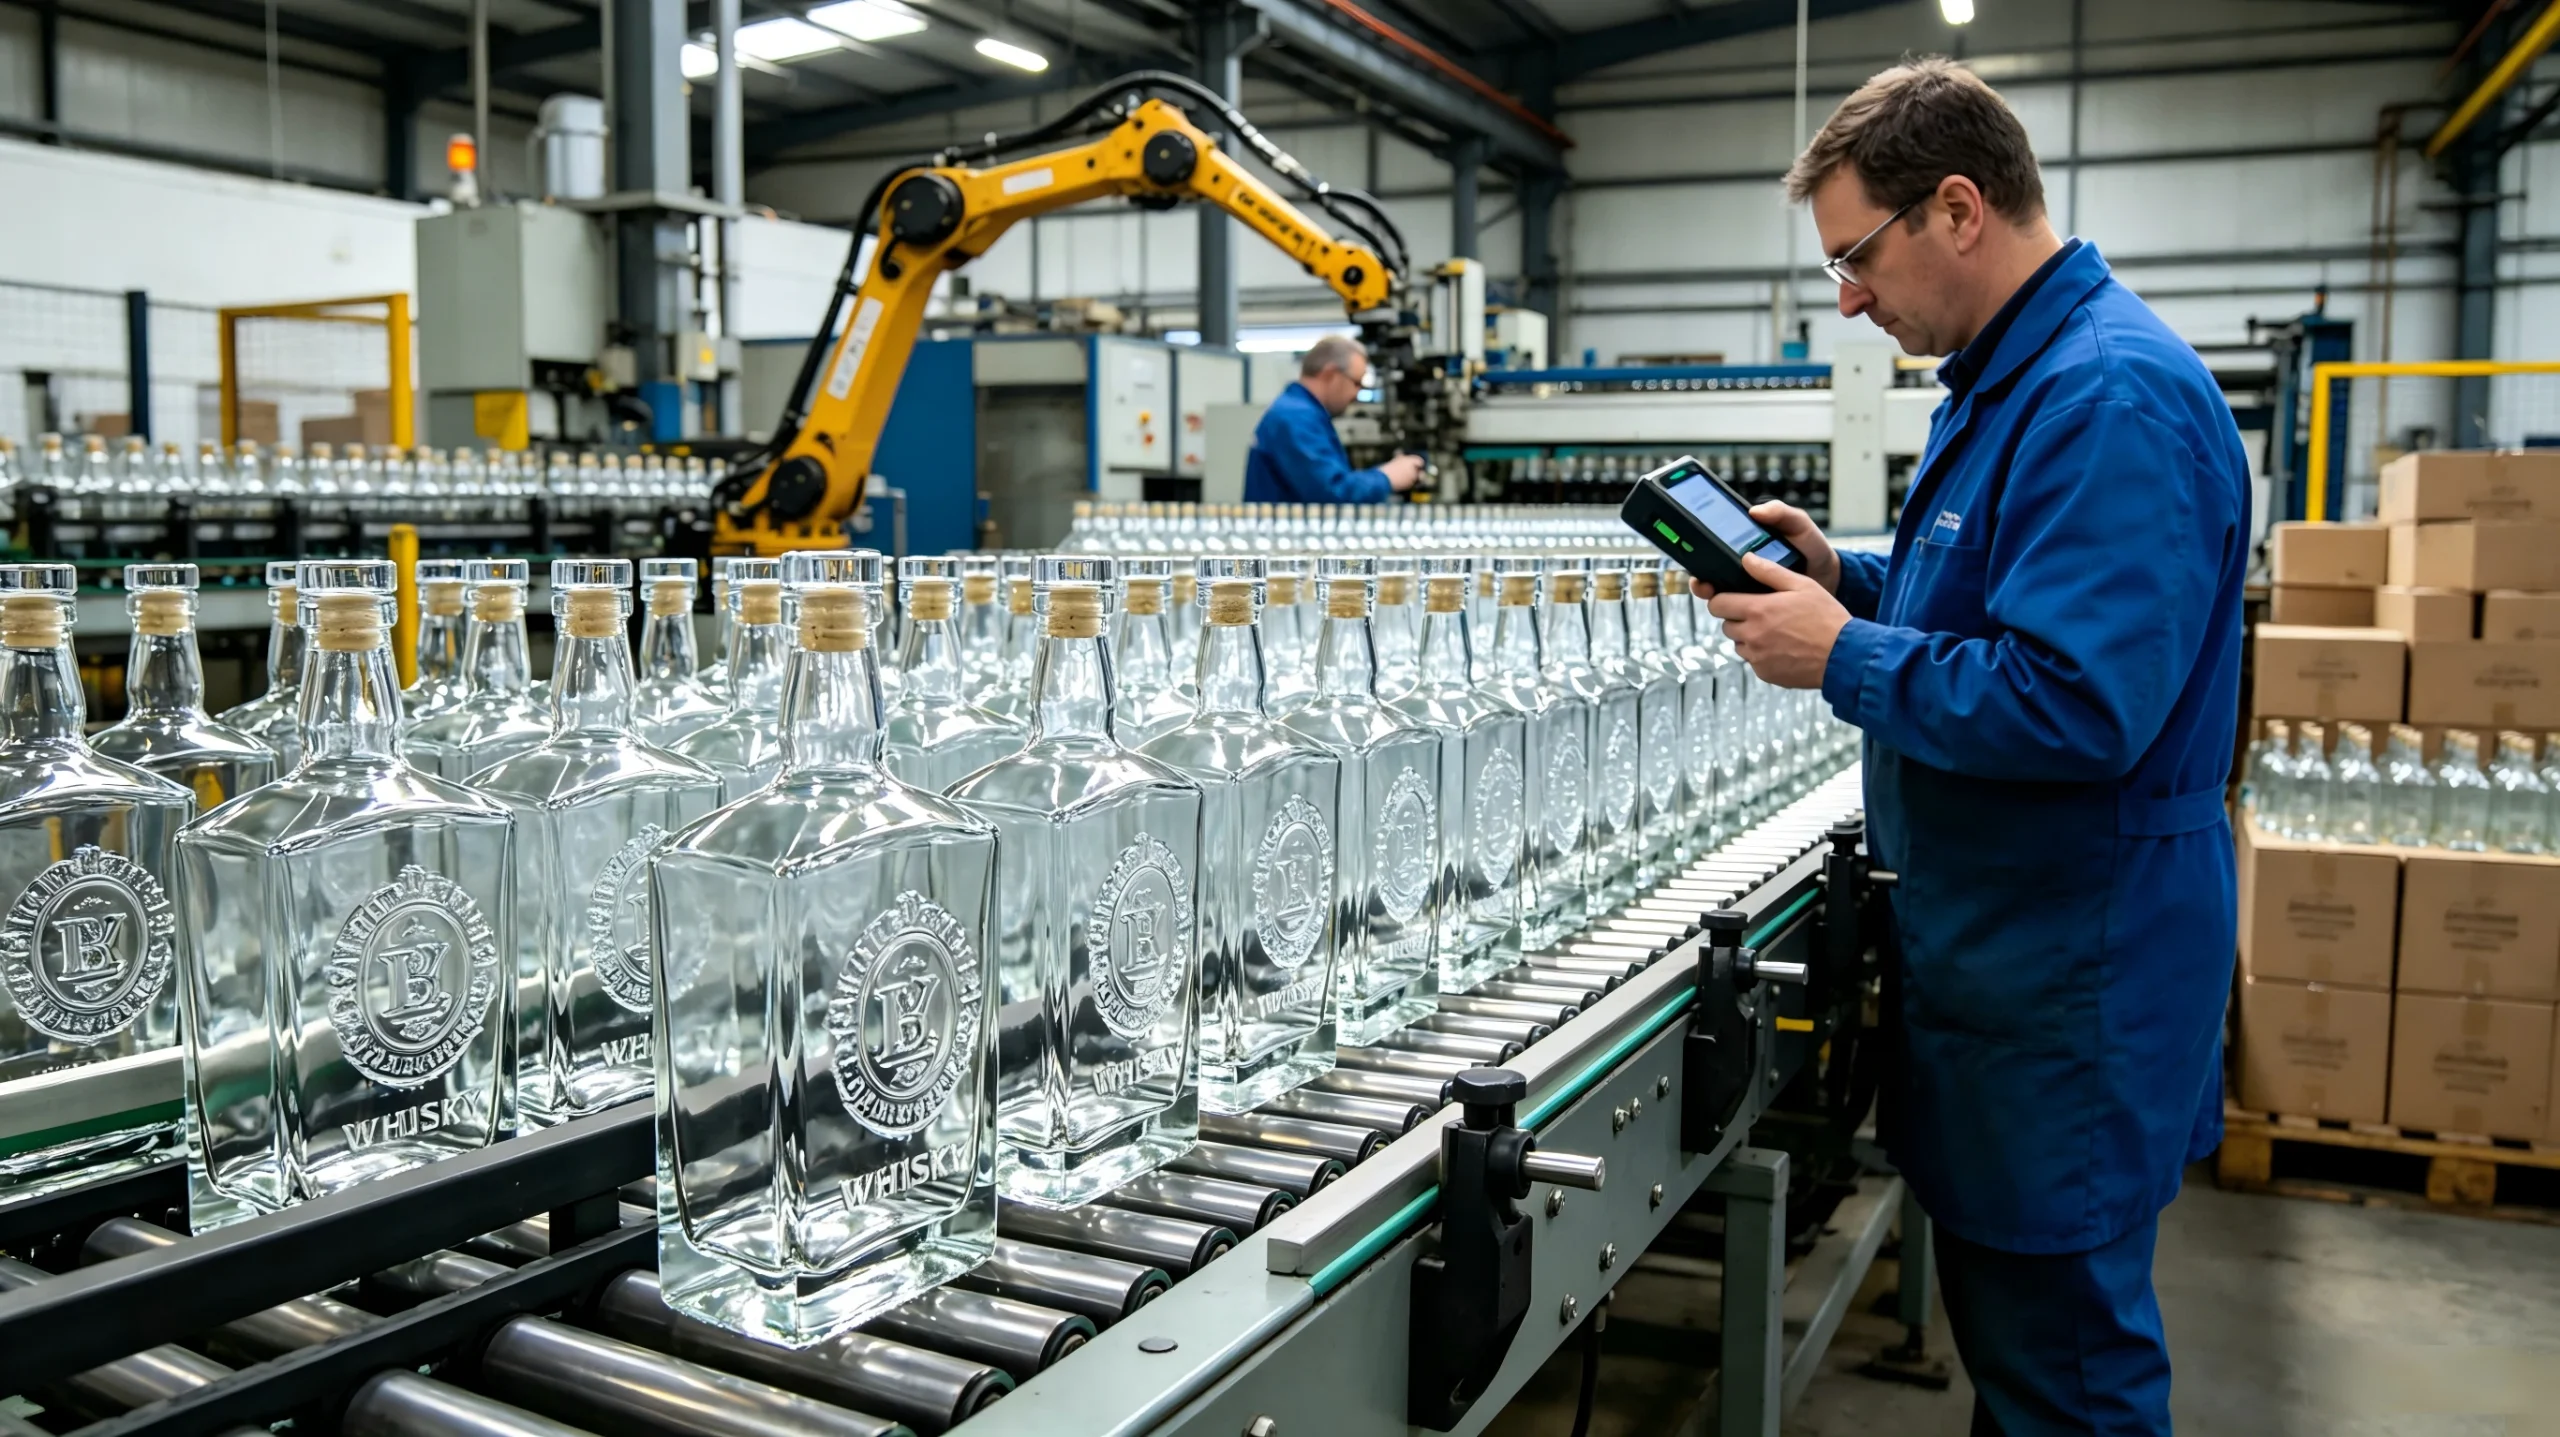
After you approve the sample, the factory starts mass production. During this time, the machines will produce hundreds of bottles per hour. Good factories have quality control teams that check the bottles as they come off the line.
They look for “stress points” in the glass. Sometimes, if an embossed logo is too deep, it can make the glass weak in that spot. Professional manufacturers know how to balance the beauty of the design with the strength of the bottle. They make sure your 750ml オーダーメイドのウイスキーボトル are both beautiful and safe for shipping.
Design Tips for a Better Result
If you want the best-looking embossed logo, follow these simple tips:
- Avoid Sharp Edges: Rounded edges on your logo look smoother and more natural in glass.
- Think About Light: Glass reflects light. An embossed logo will create shadows that make the design “pop” without needing any ink.
- Combine with Frosting: You can add an embossed logo to a frosted bottle for a very modern, luxury look.
- Keep Text Short: If you are embossing words, use a few large words instead of a long sentence.
To Wrap Up
Adding an embossed logo to your 750ml オーダーメイドのウイスキーボトル is one of the best ways to grow your brand. It makes your product look like a “top-shelf” choice. While it takes a bit of extra planning and a mold fee at the start, the results are worth it.
You end up with a bottle that people want to keep even after the whiskey is gone. It becomes a piece of art. By following these steps—simple design, right placement, and careful sampling—you can create a stunning package that helps your whiskey business succeed for years to come.
If you are ready to start, reach out to a glass expert today. They can help you turn your 2D logo into a 3D glass masterpiece.
関連記事